With the DIY home remodeling craze stronger than ever before, you might find yourself struggling to think up new challenges and projects. There are so many things to do around the house, sure, so many ways to paint and repaint, make and remake your home – and yet, it feels as though you’ve done so much. You want to add an extra splash of personality to your interior, but aren’t quite sure where it’ll come from, let alone how to bring that fresh character out.
Cutting lines along your walls and doorways can be a great way to do just that. On the one hand, they’re a great way to add some contouring and depth to a space. On the other hand, while they’re beneficial in that regard, they’re also a bit less common, making it a great project to turn to once you’ve done all the “usual” DIY projects. Add to that the fact that well-cut walls and doorways can help set your property apart, and even add to its overall value, and the impetus to get started becomes clear.
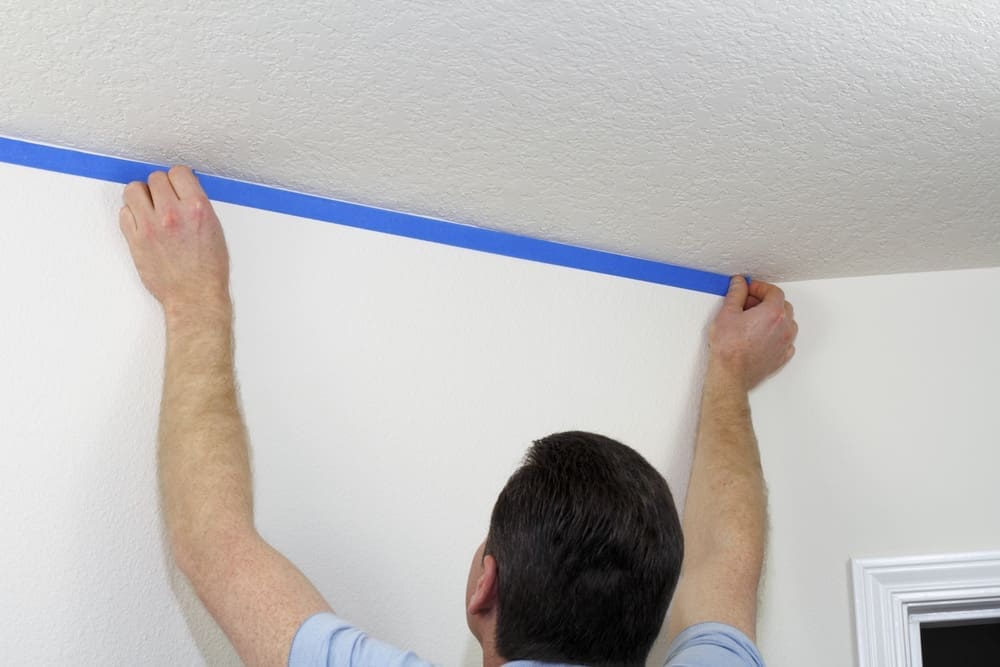
Here, then, is a quick guide to creating sharp, well-cut lines along walls and doorways in your home.
Getting the Right Tools
As the saying goes, for every task there is a proper tool. As such, before you do anything else, you’ll want to make sure that you have the right tools for the job. If you are looking to cut some sharp, accurate lines in your interior space, you’re going to need:
- The paint you’ll be using to paint the area in question
- A container
- A pencil grip
- An angled sash brush
Getting Started
Once you have poured the paint into the container, you’ll want to attach the pencil grip to your brush. You’re going to be brushing for awhile here, and attaching a pencil grip can help cut down on the degree to which you feel any muscle pain or get hand cramps. You’ll also want to make sure that you’re holding the brush the proper way, namely, by having your thumb on one side of the brush and your index fingers on top of it. While holding the paintbrush in that fashion, you will want to dip the brush down into the paint such that the paint coats the angled part of the brush in an even fashion.
Get Painting
Now, it’s time to start painting those cut lines and adding some much-needed contouring to your home. You’ll want to paint in downward strokes, from the top of your angled brush to the bottom, with strokes measuring about a foot in length. While painting, you’ll want to be sure to remove any excess paint as you go along – you’re not going to want to save all that for the end, and not cleaning up that excess paint can leave your walls looking anything but sharp. Repeat the process as much as needed until your walls have the sharp cut lines and painted contouring that you need.
Bring out the liveliness of your walls with this valuable painting technique.

Marc Poulos began his real estate and financial services career, but he soon realized that his true passion was beautifying homes. He started working with various small craftsman shops before serving an apprenticeship with the Ritz Carlton Hotel in Chicago. His commitment to excellence won him Top Apprentice from Washburne trade school in Chicago – the country’s premier school of its kind.