Painting your home is a fun way to turn any room into one that suits your unique style. You are probably familiar with painting walls, even using an accent wall for a nice touch. What most people are unfamiliar with is painting the ceiling. The process is similar to painting a wall, but there are a few differences that you must master to make painting easy and efficient.
Prep
The first thing you want to do is move all of the furniture or other items that can get ruined. Paint can easily drip from the ceiling onto your belongings, so you want to make sure you have a cleared-out room. Another reason to clear the space is that you will likely need to use a ladder or an extra-long roller brush that requires you to move around. The last thing you want is to be bumping into something or tripping over things.
You will also want to place some kind of drop cloth or tarp on the floor. For the same reason, you will want to protect your flooring. Paint can easily drip down and ruin the floor or give you the difficult task of getting the paint out. You should keep this protective layer over your floor until the paint has dried fully.
Of course, you will also need the proper brushes. The extra-long roller brush is the easiest brush to use when you want to cover the vastness of the ceiling easily. A few standard paintbrushes will also be helpful for getting around the trim and other tight areas.
Taping and Priming
Once you have cleared out the room and covered the floor, you can begin taping the areas that you do not want to paint. This often includes the perimeter of any ceiling fixtures, such as lights and fans, as well as around the trim or molding.
You can then begin using your primer. A primer will help the paint stick and give the paint a nice, even base for you to build on. Latex primer works particularly well. Many people choose to “cut the corners” first. This means you will take the smaller paintbrush and work your way around the perimeter of the room in those tighter areas and around any fixtures. The last step is to apply your primer over the rest of the ceiling.
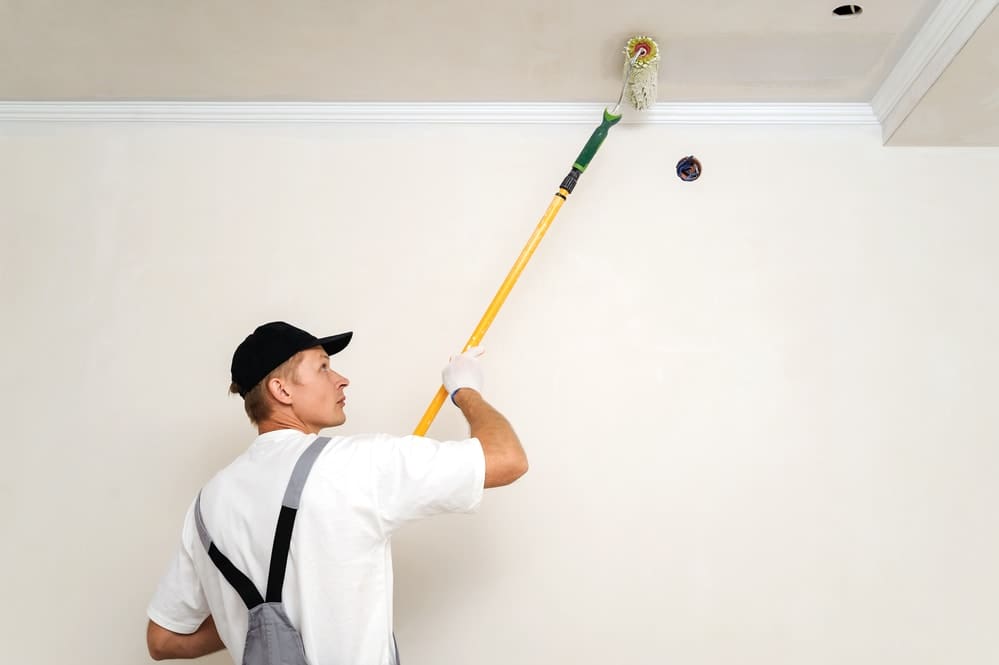
Painting
Once all of the above is done, you are ready to begin painting your ceiling. Using a roller brush, you will want to work in sections. Keep your strokes even and in the same direction. This will prevent your paint from appearing streaky once it dries. There are different roller attachments for different ceiling types. If it is smooth, you can use a low nap roller. For textured ceilings, you will want to use a half-inch or three-fourth-inch nap. This will help with even application.
With these tips in mind, your ceiling is going to look great! Painting the ceiling does a lot for the room and can really liven up the space. It does not have to be difficult or messy, as long as you take the time to prepare before you begin painting.

Marc Poulos began his real estate and financial services career, but he soon realized that his true passion was beautifying homes. He started working with various small craftsman shops before serving an apprenticeship with the Ritz Carlton Hotel in Chicago. His commitment to excellence won him Top Apprentice from Washburne trade school in Chicago – the country’s premier school of its kind.


